 |
Heart Shaped Cheese and Spinach Ravioli
Baked in Meat Sauce |
In celebration of my birthday later this week, I am going to be sharing some recipes for some of my all time favorite foods. Ravioli is definitely one of my favorite foods.
My husband just recently helped me roll out a big batch of homemade pasta, and one of the things we made was ravioli. Homemade ravioli with all of the ingredients made from scratch tastes so delicious and fresh.
Homemade Cheese Ravioli Recipe
To start, make a big batch of
homemade pasta, and let it rest. Then you can either make up some
homemade ricotta cheese or buy some from the store.

Season the ricotta to taste. If using homemade, you'll probably at least want to add salt, but some oregano, basil, and garlic powder is also good. If you like spinach you can add up to an equal volume of chopped fresh or frozen spinach to the cheese. You can even mix in some Parmesan cheese to add more flavor.
Now roll out you pasta dough really thin and cut into 2x4 in rectangles with a pizza cutter or any other fun shape you want with a cookie cutter. Some shapes are easier to work with than others. One year for Valentine's Day I made really large heart shaped ravioli which turned out quite well.
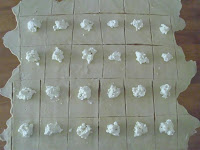
Scoop a small amount of filling onto each of the pieces of dough. For a 2x4 inch rectangle, that you intend to fold over, about a tablespoon is enough. Wet one side of the dough with water and fold over or place another piece of dough on top. Press firmly to close. You can even fold the edges back on themselves slightly to ensure a really tight seal

Once all of the ravioli are formed, you can either cook them right away or like jiao zi (Chinese dumplings), you can freeze them on a cookie sheet and cook them at a later date. To cook, you can either bake ravioli covered in sauce at 350 F until it is all hot and bubbly (10-20 minutes) for fresh ravioli. Or you can boil water add the ravioli, and return to a boil for 5-8 minutes. Either method will take a few minutes longer if you begin with frozen ravioli.

 If you are still looking for recipes for Thanksgiving pie and ice cream. Here are few great recipes to choose from. I'll be making some of these later this week.
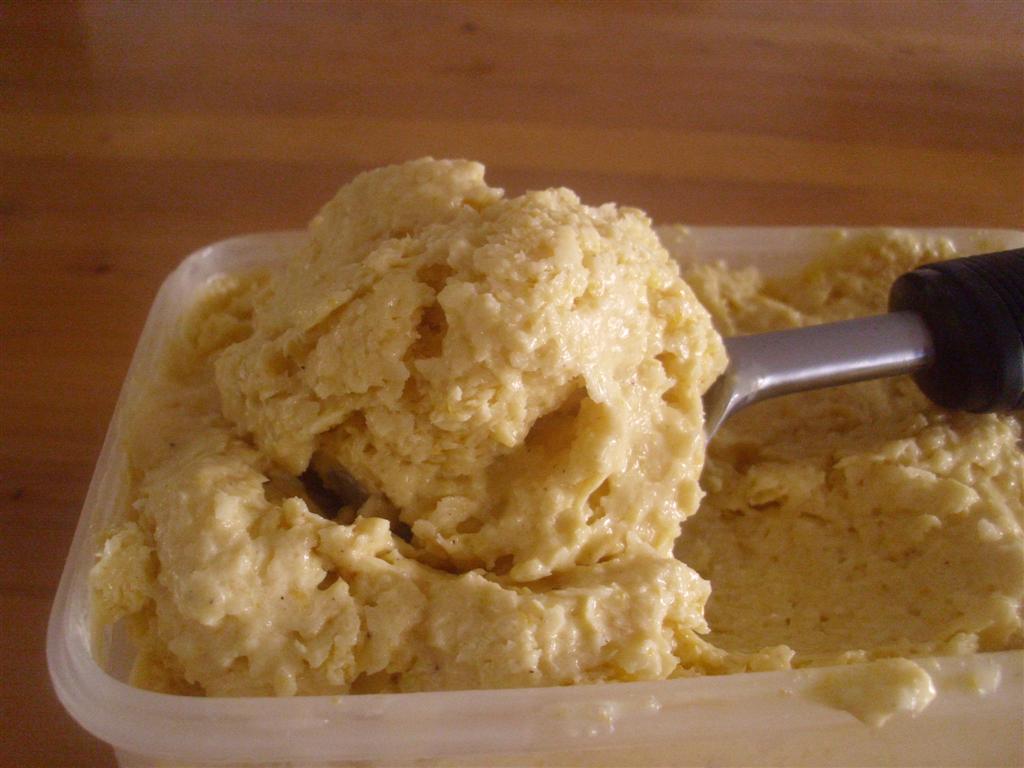 Ice Cream Recipes:

.JPG)
.JPG)
.JPG)
.JPG)
.JPG)


