
Tuesday, August 2, 2011
DIY Ice Cream Recipes
DIY Chocolate Ice Cream
 Mmmm chocolate. I love chocolate. I love ice cream. This is a really good, really chocolatey ice cream. If you use the full amount of good cocoa powder it will be a deep rich chocolate. This is great all by itself, with a brownie, or as a base for other types of ice cream.
Dark Chocolate Ice Cream
- ¾ cup sugar
- 2 cups whole milk (divided)
- 5 egg yolks
- ½ cup cocoa powder
- 1 cup heavy (whipping) cream
At this point you can freeze the ice cream in an ice cream maker if you have one. If you don't have an ice cream maker, you can follow the directions here for freezing in your regular freezer. If you wish to add additions, stir them in before the ice cream is too firm.
Monday, August 1, 2011
DIY Mint Chocolate Chip Ice Cream

Mint Chocolate Chip Ice Cream
- ¾ cup sugar*
- 2 cups whole milk (divided)**
- 5 egg yolks**
- 1 cup heavy (whipping) cream**
- 1 tsp mint extract
- ½ chocolate chips or chunks (homemade works great)
 Get out all of the ingredients, as well as a saucepan, a small bowl, a mixing bowl, a whisk, a spatula, measuring cups, and spoons. Begin heating 1 cup of milk and sugar slowly in a saucepan. Whisk egg yolks, and begin adding some of the warm milk mixture to the egg yolks. When the egg yolk mixture is warm, add it into the milk mixture, and continue heating over low heat, stirring frequently until the custard thickens enough to coat the spatula or spoon. Pour 1 cup milk and 1 cup cream into the mixing bowl. Add the custard into the milk and cream. If the custard has any lumps, pour through a strainer when adding it to the milk and cream. Add mint extract, and stir well.
At this point, you can freeze the ice cream in an ice cream maker if you have one. Or if you don't have an ice cream freezer, you can follow the directions here to freeze in your regular freezer. When the ice cream is mostly frozen, stir in chocolate, and continue freezing until firm.
This recipe makes about 1 quart or liter of ice cream.
* Reducing the amount of sugar or changing the type of sweetener can dramatically effect the consistency of frozen yogurt or ice cream.
** Personally I love this ratio of sugar, milk, egg yolks, and cream. I think this is very rich recipe the way it is. However, if you want an even richer ice cream, you can use 2 cups cream, 1 cup of whole milk, and increase the egg yolks up to 8. If you are looking for a lighter frozen treat, you could try one of these frozen yogurt recipes.
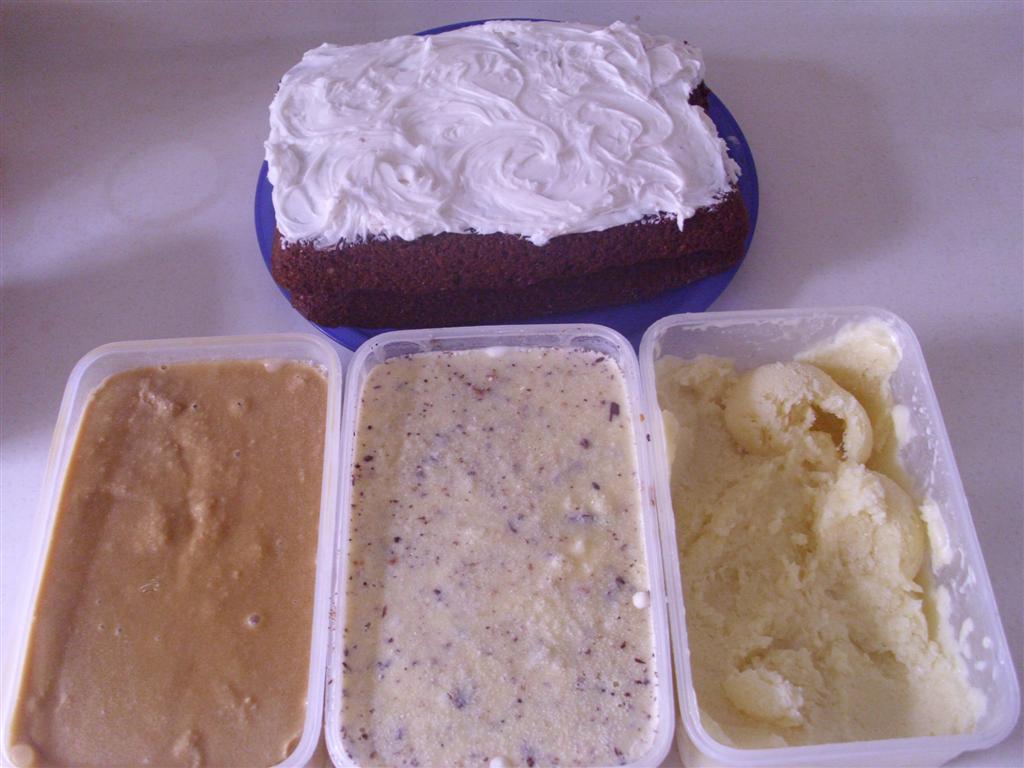
DIY Moose-tracks Ice Cream
 Chocolate, peanut butter, and ice cream mixed together is hard to resist. I made it for my husband's birthday, and it was his and both boys' favorite.
Chocolate Peanut Butter Chunk Ice Cream
- 1 quart vanilla or (1 recipe of Classic Vanilla Ice Cream mostly frozen)
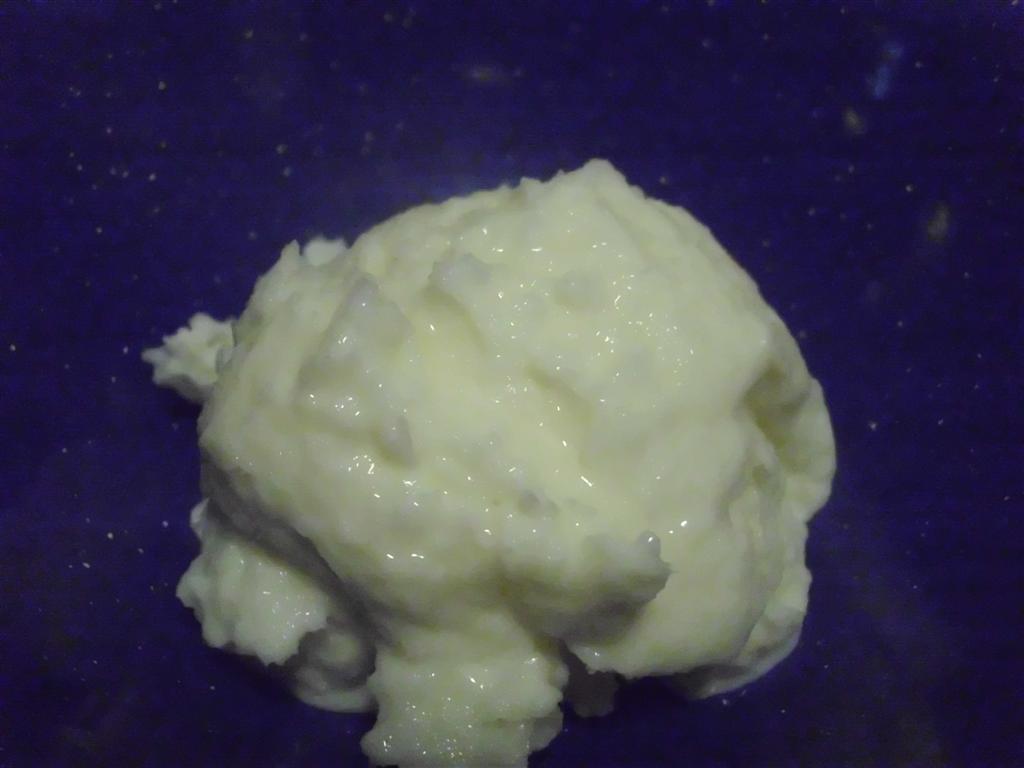
- ½ cup peanut butter
- ½ cup powdered sugar (homemade works fine)
- ½ cup chocolate chips or chunks

Make vanilla ice cream, or soften store bought vanilla. Mix peanut butter with powdered sugar, and roll into half in balls. Freeze until firm. Mix peanut butter balls and chocolate into semi-soft ice cream, and continue to freeze until firm.
DIY Vanilla Ice Cream: Making Ice Cream Without and Ice Cream Maker
 |
| Classic and Creamy Vanilla Ice Cream |
 |
| Adding egg mixture |
Classic Vanilla Ice Cream
- ¾ cup sugar*
- 2 cups whole milk (divided)**
- 5 egg yolks**
- 1 cup heavy (whipping) cream**
- 1 tsp vanilla
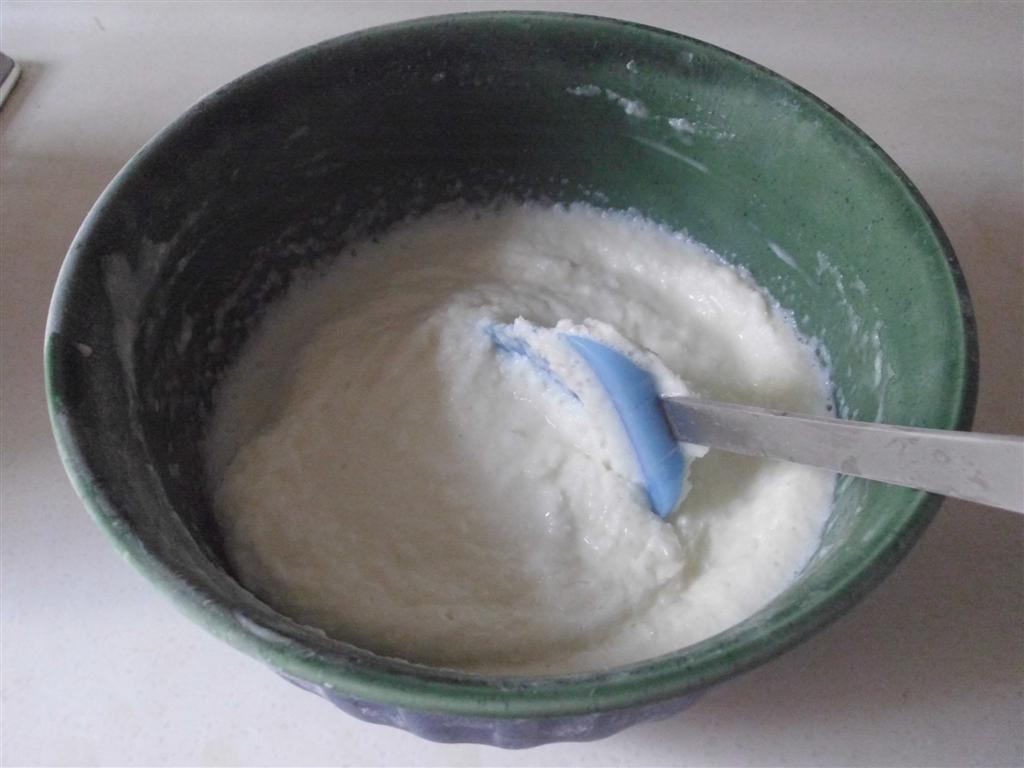
 |
| Custard thickening |
 |
| Mixing custard into milk and cream |
This recipe makes about 1 quart or liter of ice cream.
* Reducing the amount of sugar or changing the type of sweetener can dramatically effect the consistency of frozen yogurt or ice cream.
 |
| Ready to go into the freezer |
** Personally I love this ratio of sugar, milk, egg yolks, and cream. I think this is very rich recipe the way it is. However, if you want an even richer ice cream, you can use 2 cups cream, 1 cup of whole milk, and increase the egg yolks up to 8.
DIY Chocolate Peanut Butter Granola
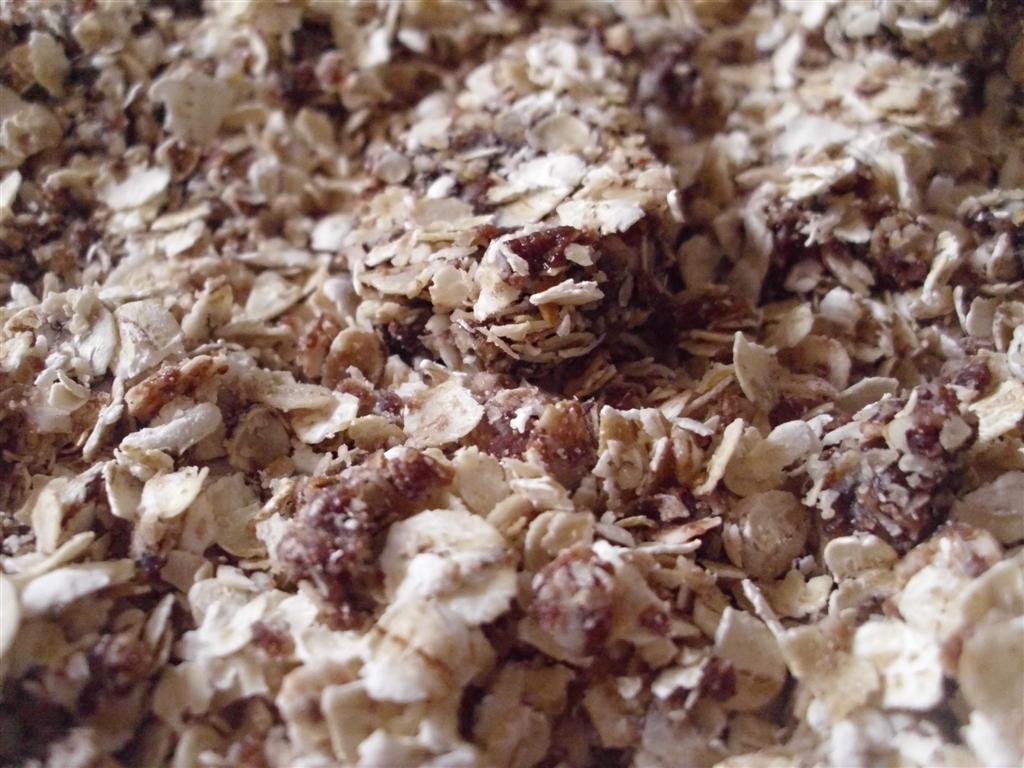 |
| Chocolatey Granola Chunks |
Chocolate and Peanut Butter Granola
- ½ cup honey (maple syrup, or pancake syrup can be substituted)
- 1 cup peanut butter (or regular butter)
- ¼ to ½ cup cocoa powder
- 6 cups oatmeal
- 1 cup or more of additions (such as raisins, dried fruit, nuts, or seeds) (optional)
In a large non-stick or cast iron pot, melt the peanut butter, stirring frequently. Turn off heat, and stir in honey. If you want the entire mixture to be chocolatey, add ½ cup cocoa powder now. If you want a half peanut buttery and half chocolatey mixture, mix half of the peanut butter mixture with 3 cups of oatmeal. Then add ¼ cup cocoa powder to the other half of the peanut butter mixture, and mix in remaining oatmeal. Spread on cookie sheets and bake at 350F for 10–15 minutes. Check granola at this point to see if it has browned lightly. Stir and bake for another 10–15 minutes if necessary.
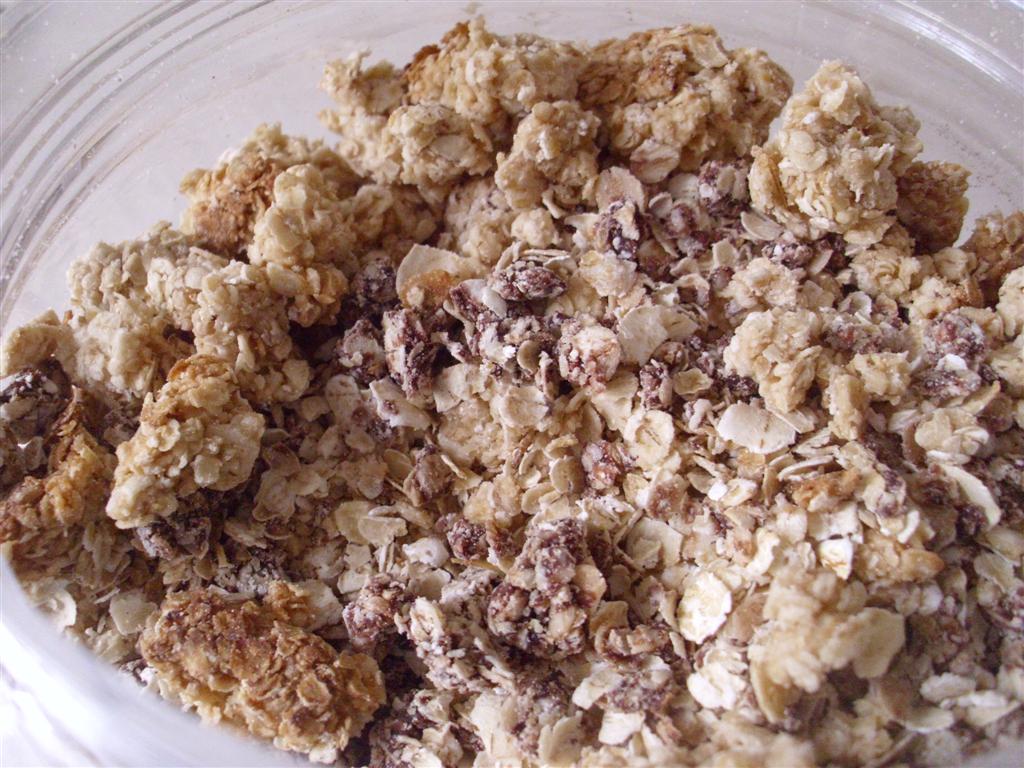 |
| Chocolate and Peanut Butter Granola |
Allow the granola to cool before mixing in other additions and transferring to an airtight container for storage. I usually make the half peanut butter and half chocolate version and don't bother adding extra additions to this tasty recipe.
Mandarin Mondays: 中国制造
China is known for manufacturing and is the largest exporter of products in the world. The "Made in China" (zhōngguó zhìzào, 中国制造) label can be seen in all kinds of products worldwide, ranging from high quality silks and porcelain tea sets, to cheap plastic toys.
But we are finding that there is a big difference in quality even between what is made in China and exported and what is made and sold in China. Believe it or not, the high quality merchandise will be found in an American Walmart, and the lower quality items will likely be sold in our local Walmart (Wò ēr mǎ, 沃尔玛). Buyer beware has never been more true, and a higher price is not always a guarantee of quality.
One recent example of this we've found recently has been our toilet seat. About two months after we moved into our apartment, the toilet seat that came with the apartment broke. First just the hinges and then the whole thing shattered into pieces. Obviously, it needed to be replaced quickly so that Aaron could continue to use the potty himself without injury. So Nate went to a local hardware shop and bought a toilet seat. The one he bought wasn't a super cheap model, it cost about $10 US, so he thought it should last a while. One month later it began to have tiny cracks showing up in it, and two months later it really needed to be replaced again.
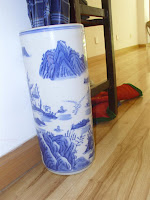
Now it may not be surprising that import stores have some of the higher quality items here, but some of the local markets carry some amazingly sturdy items as well. Some of the furniture in the second hand markets (èr shǒu shì chǎng, 二手市场), is much better than new furniture, because it is made with real wood. Baskets and pots at local street markets (shì chǎng, 市场) seem much more durable and unique than similar factory made products at Walmart (Wò ēr mǎ, 沃尔玛).
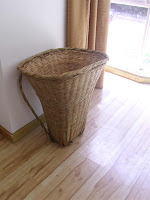
 I really like some of the baskets and pots we purchased from a street market (shì chǎng, 市场), and they have stood up to a lot of abuse from the boys.
 |
| Two-month old potty seat with three large cracks |
 |
| Not fun to sit on |
While somethings are solely manufactured and not sold at all here, it usually possible to find a higher quality product in a big city like Kunming, if you know where to look and what to look for. The second time Nate bought a toilet seat, he took a bus to the north side of town to B&Q (Bǎi ānjū, 百安居), a British retailer very similar to Home Depot. He also carefully examined a whole bunch of different models of seats. The one he ended up purchasing cost less than the first one, but the plastic is much thicker. We have high hopes that this seat will last more than two months. If it doesn't, I guess that is just what we get for having a western toilet in our apartment in China. One benefit of a squatty potty is that you never need a seat.

Now it may not be surprising that import stores have some of the higher quality items here, but some of the local markets carry some amazingly sturdy items as well. Some of the furniture in the second hand markets (èr shǒu shì chǎng, 二手市场), is much better than new furniture, because it is made with real wood. Baskets and pots at local street markets (shì chǎng, 市场) seem much more durable and unique than similar factory made products at Walmart (Wò ēr mǎ, 沃尔玛).

 I really like some of the baskets and pots we purchased from a street market (shì chǎng, 市场), and they have stood up to a lot of abuse from the boys.
Friday, July 29, 2011
Family Fridays: Family Hike
 |
| Edge of Kunming |
So Thursday we decided to do just that. We walked quite a ways to get to the edge of the city. Kunming is basically in a bowl of hills and mountains. It is very beautiful. Whenever you get to the edge of the city, you pretty much hit a hill or a mountain. So after walking to the edge of town we started going up, up, up.
 |
| Temple |
Nate and Aaron had taken a bus part of the way before and done a little exploring to find a nice path so we started walking up the road. We walking past a temple and heard some chanting. Walked past a few more buildings to the much smaller walking path. A lot of it was paved, but it had a lot of steps. Nate had his work cut out for him with the stroller, and I carried Andrew part of the way.
 |
| Easy flat part of the path |
 |
| Andrew doing it by himself |
 |
| Mommy and Andrew |
 |
| Daddy and Aaron |
 |
| Looking back at Kunming |
Tuesday, July 26, 2011
Easy One-Dish Dinner: Complete Potato Salad
 This is an easy, one-dish summer meal. It combines egg, potato, and green salad into a one-dish meal. Like green eggs and ham, we want to eat it everywhere in the summer.
Greens, Egg, and Potato Salad
4–6 medium potatoes washed, chopped, and boiled (you can peel them if you like, I am generally to lazy to peel things, and besides I like the extra nutrients found in eating whole foods)8 eggs boiled and chopped
1 head of romaine lettuce washed and torn, half a bag of washed spinach, or your choice of salad greens
mayonnaise, ranch dressing, French dressing, or Italian dressing to coat the salad
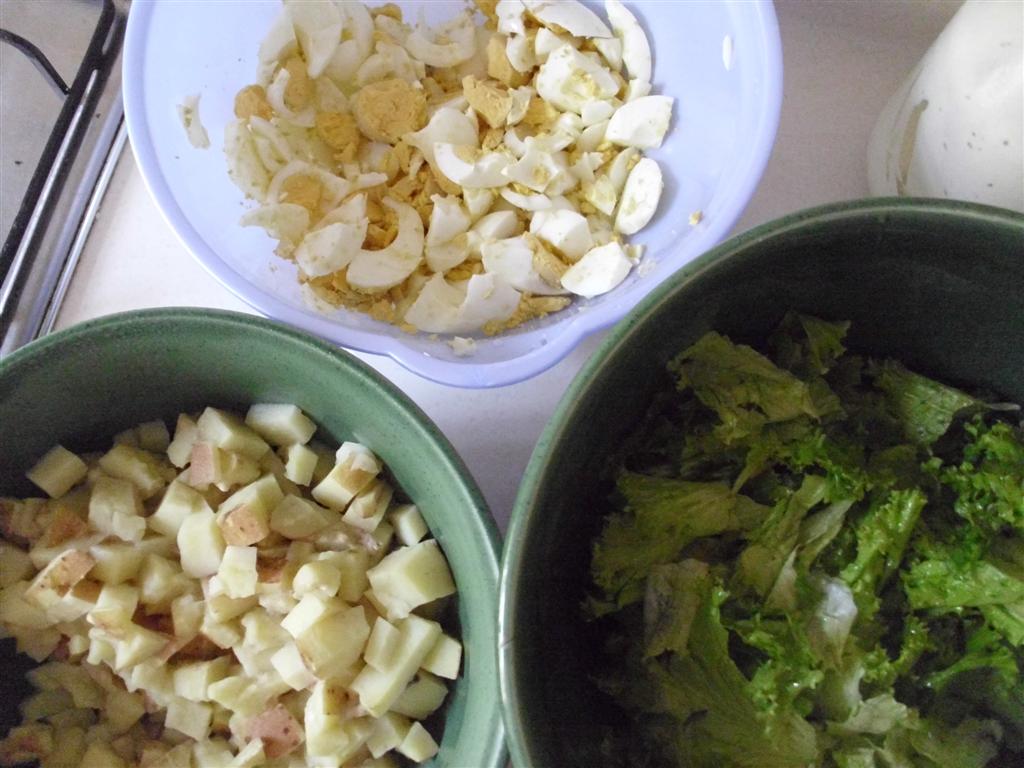 Prepare the potatoes and eggs and refrigerate until cool. Mix with greens, and then coat with dressing of your choice.
This dish is best eaten right away, although I have saved leftovers and eaten them the next day, and the salad was still good.
I would eat this here or there. I would eat this anywhere.
DIY Ranch Three Ways
 My husband loves ranch dressing, so this was one of the first DIY conveinence food I learned to make when we we married. Aaron and Andrew share their dad's love of ranch and will eat it on just about anything. These recipes saves us a lot of money.
Ranch Seasoning Mix
1 Tbsp parsley1 Tbsp dried chopped onion
1 tsp garlic powder (more if you like)
1 tsp oregano (optional)
It stores in an airtight container until ready to use. Great for dressings, dips, and adding to bread crumbs or shake & bake for coating chicken. You can make multiple batches at a time and just scoop out two heaping tablespoons for each batch needed at the time.
Ranch Dressing
1 cup mayonnaise (or half mayonnaise and half yogurt for a reduced fat dressing)1 cup milk or buttermilk (or yogurt for thicker dressing)
1 batch ranch seasoning mix
1 Tbsp vinegar
Mix all ingredients thoroughly with a whisk. Store in a sealed container in the refrigerator. I find that this dressing tastes much better when made at least a day ahead; it allows the flavors of the herbs to mingle more.
Ranch Dip
2 cups sour cream (or half sour cream and half yogurt for reduced fat dip)1 batch ranch seasoning mix
Mix all ingredients thoroughly with a whisk. Store in a sealed container in the refrigerator. I find that this dip tastes much better when made at least a day ahead; it allows the flavors of the herbs to mingle more.
Subscribe to:
Posts (Atom)