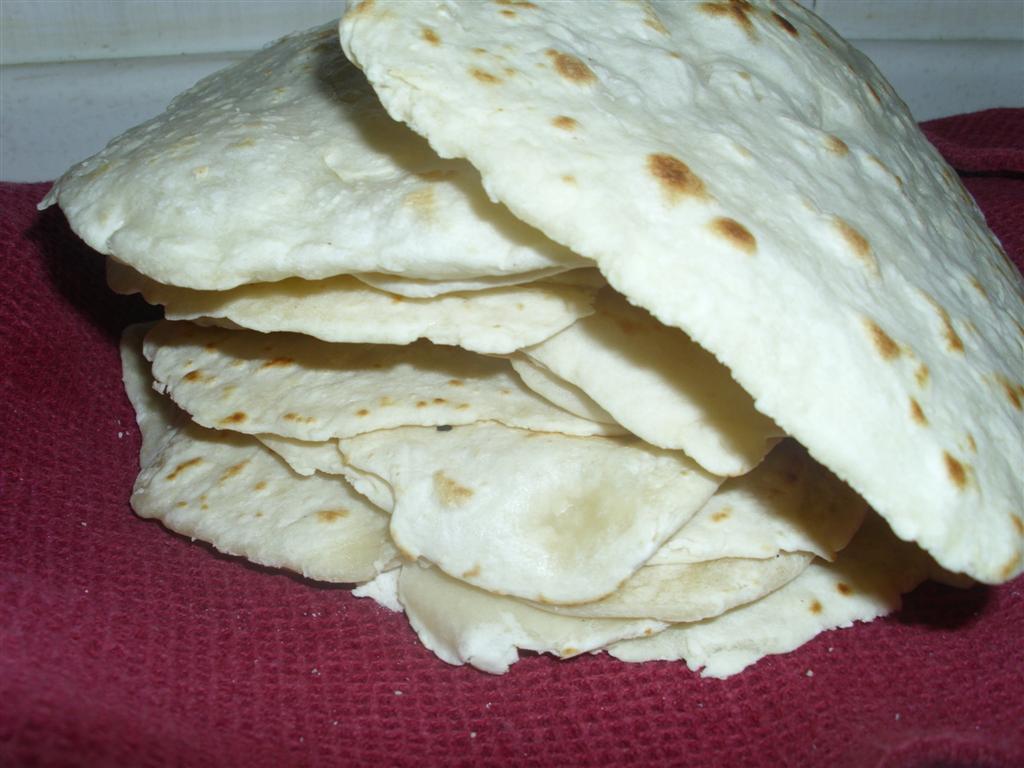
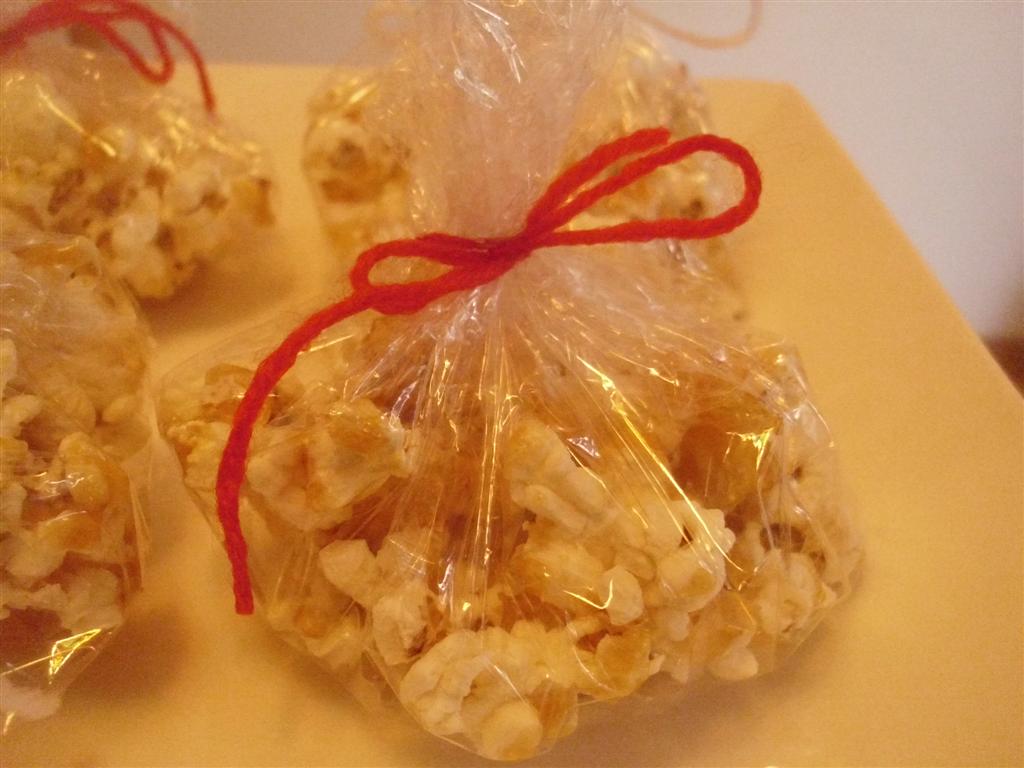
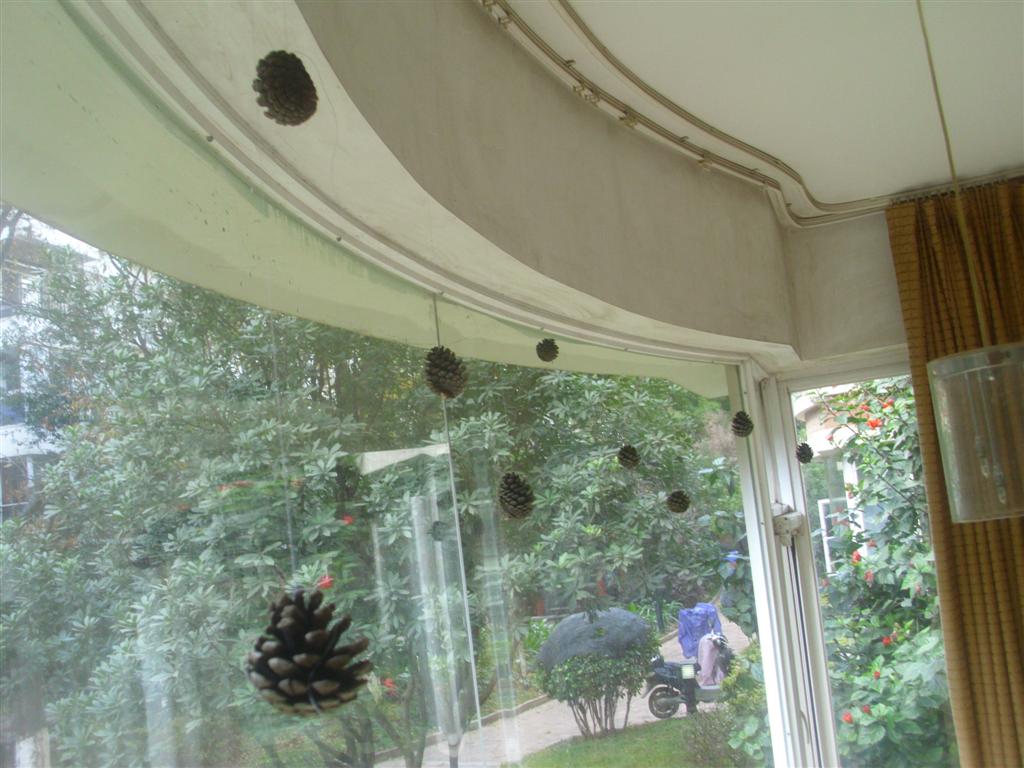
This past year, I've tried to make a lot of things that I've never done before. Many of them have worked really well...but a few have completely flopped. I'll start with the ones that worked. Here are some of the successful projects that I've attempted that were new to me in 2011 (or that I finally figured out how to do well).
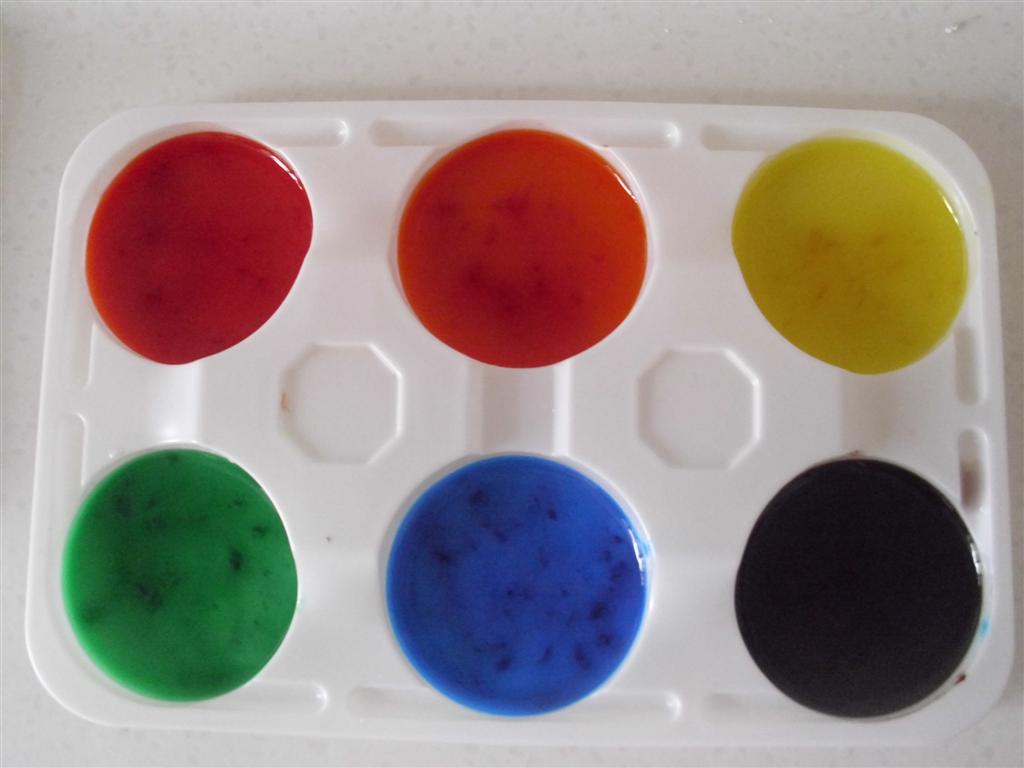
There are still quite a few other new projects that I did in 2011 that I haven't had a chance to post about yet like homemade marshmallows, crescent rolls, paint with water pages, and more that hopefully I'll get a chance to share with you soon.
There are also a few projects that I have tried that have been complete flops. Projects that I just couldn't get to work, at least not yet. I don't generally share these here, simply because failed projects aren't as helpful to others. But so that you all know I am human and still fail often, here are a few things I tried and didn't work out.
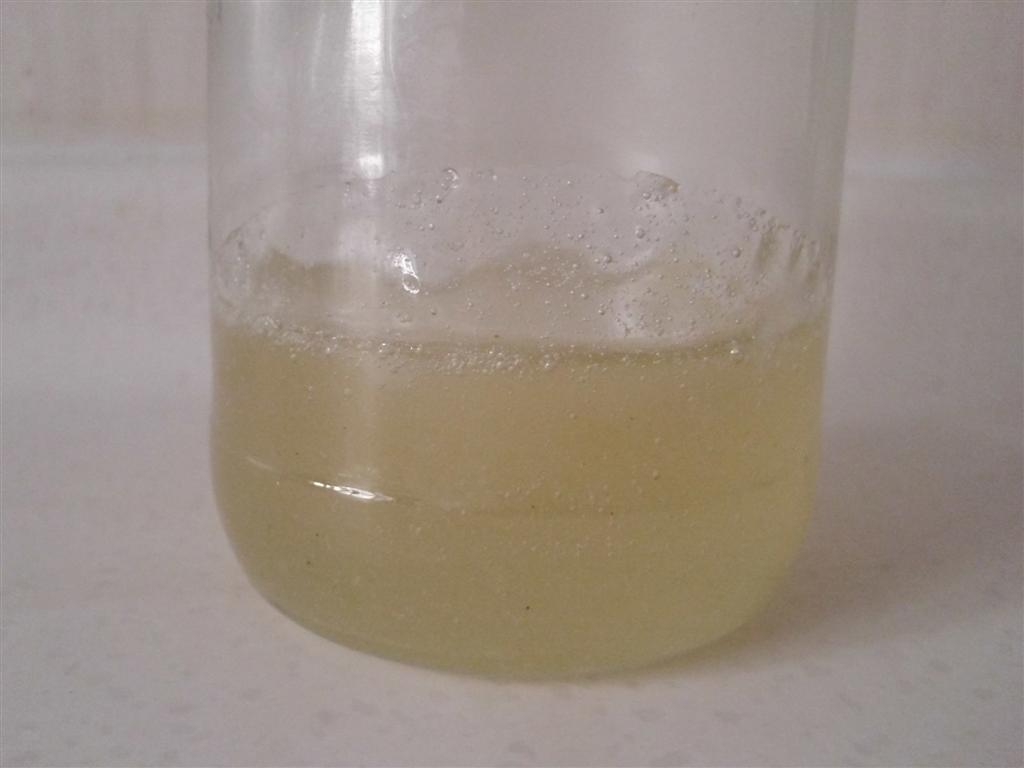
LimeadeI tried making fresh limeade the same way I make fresh lemonade in the blender, and it turned out incredibly bitter. Don't make limeade in this way, you'll just waste limes and sugar. (Although my husband still liked some of it.)
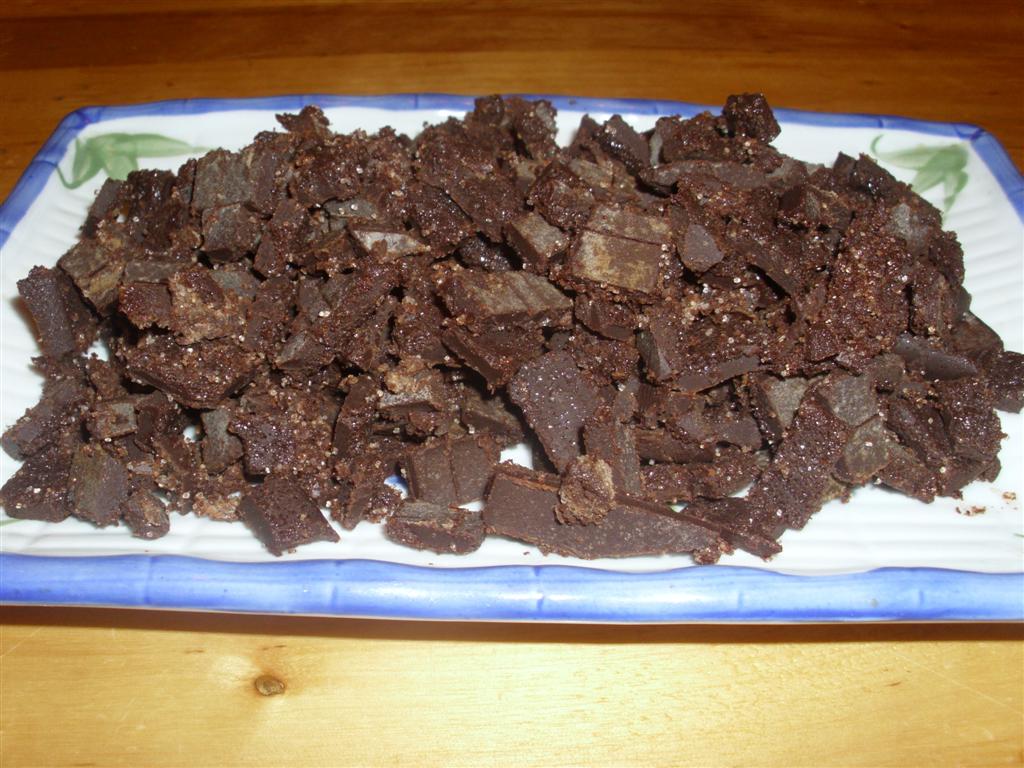
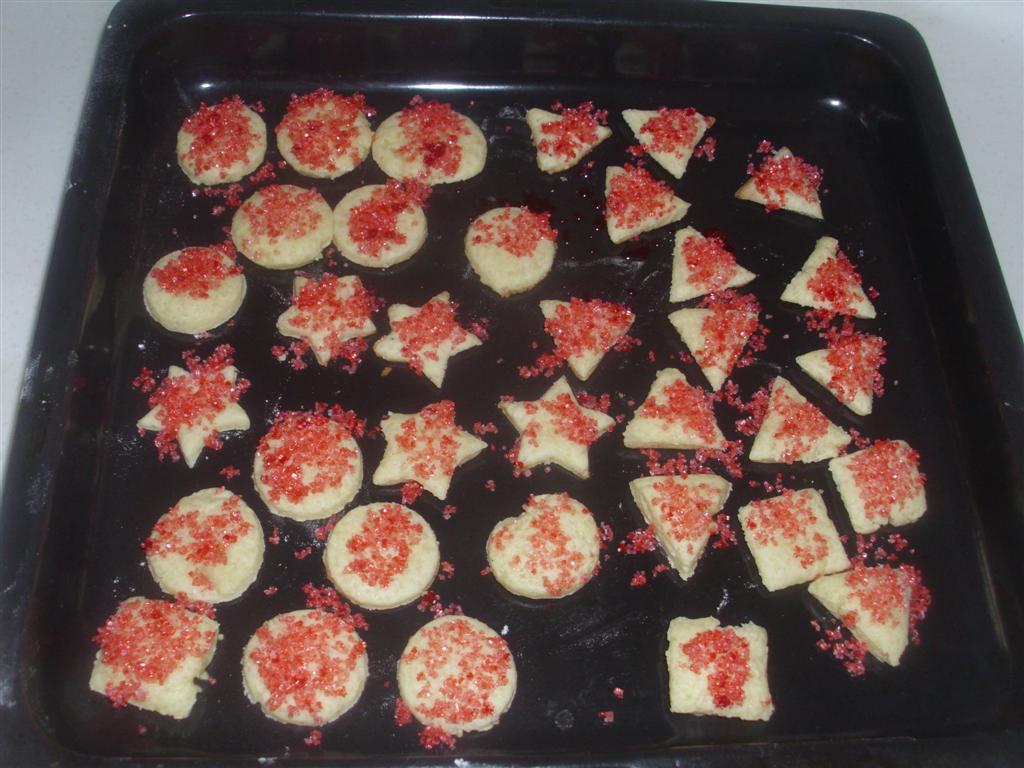
Candy CanesI tried making candy canes twice and both flopped rather badly. I was trying to make them with just a dairy thermometer instead of a proper candy thermometer that would actually read all the way to proper temperatures (in high altitude, which effects boiling temperatures) and not using corn syrup. I think I need to change at least one of these obstacles before I'll think about attempting making these again. I did manage to save the slightly minty sugar and turn it into these mint-sugar balls, which all the boys ate with gusto, but it was not at all what I was going for.
Homemade DehumidifierI think I deleted all pictures of our attempts at making homemade dehumidifiers using old plastic tubs recycled from food, salt, charcoal, fabric, and colanders, because it made me mad that instead of helping they started molding themselves, and I had more to clean. For some reason they don't sell dehumidifiers in this city, so we were trying to make our own, but so far no success. If anyone has successfully made their own, please share. Otherwise we'll probably have to try to order one off of Chinese "Ebay" and see if it helps.
There are probably a lot more projects that didn't work out, but I think I'm repressing them at the moment. I am planning some new things to try as I am trying to set goals for 2012, and I'll share what projects I want to tackle next year soon.
Happy New Year!

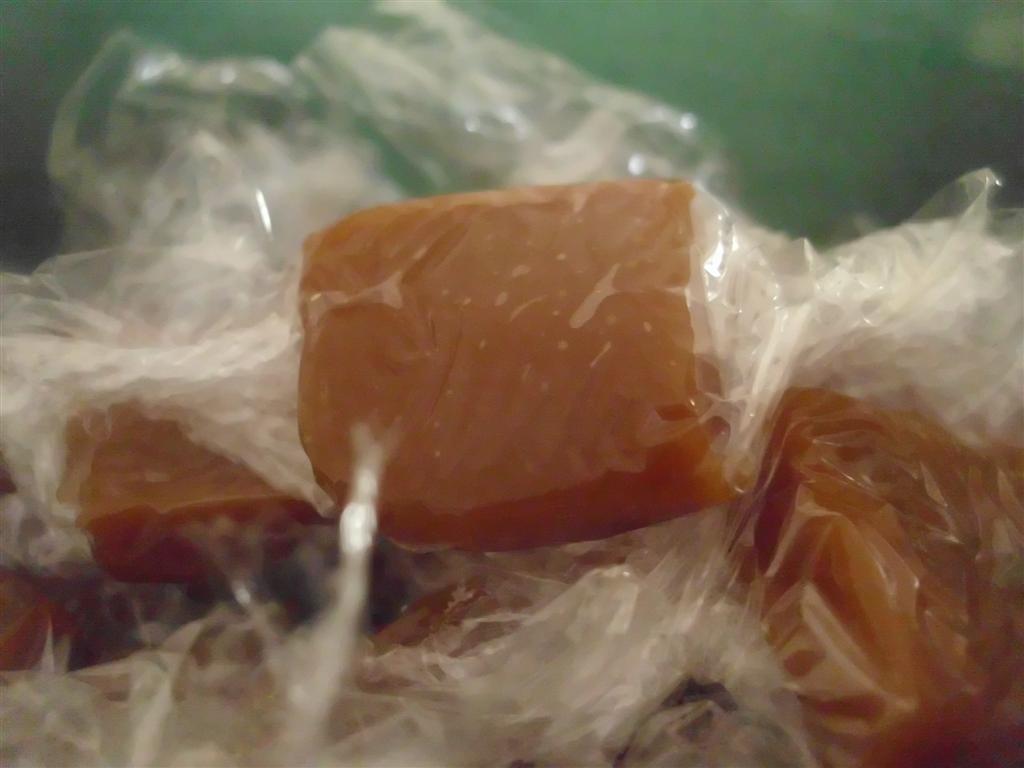
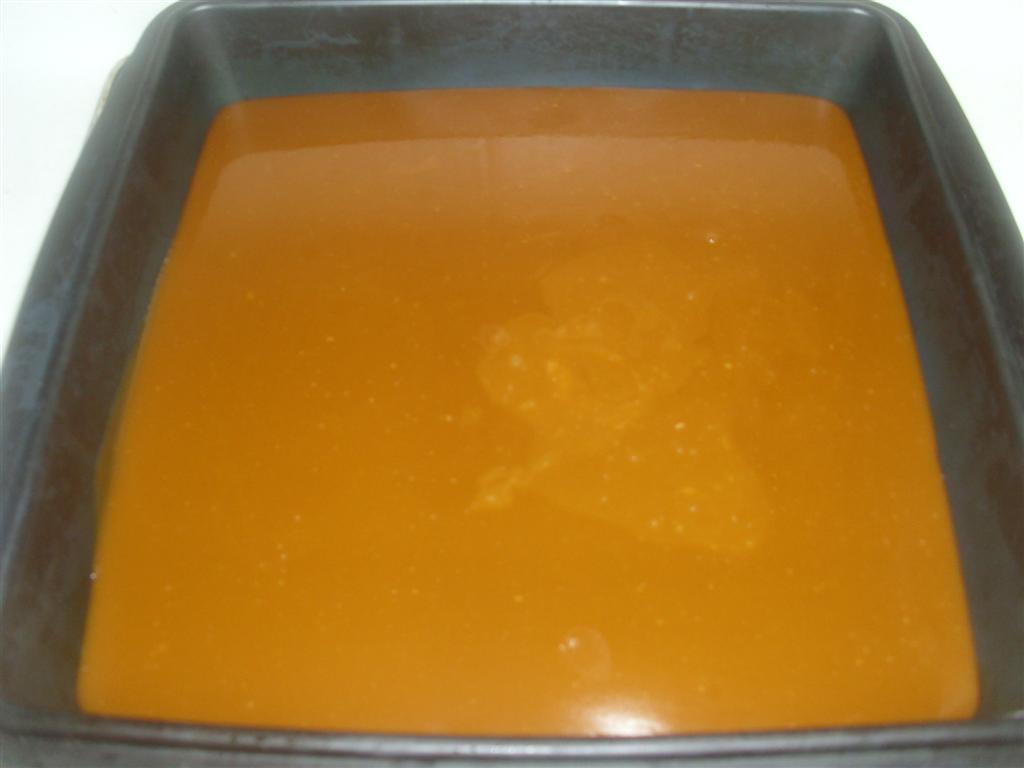
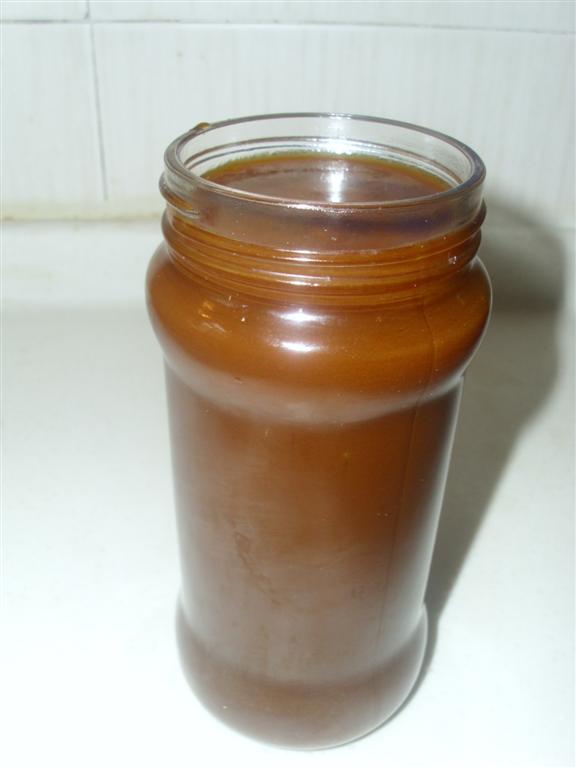
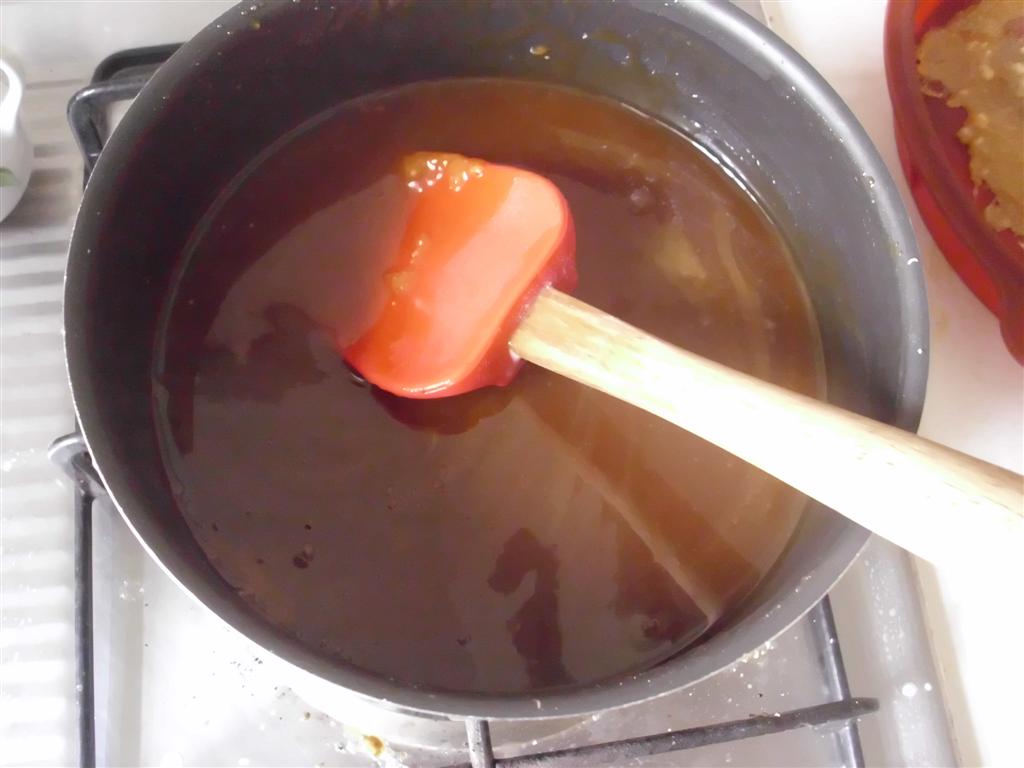
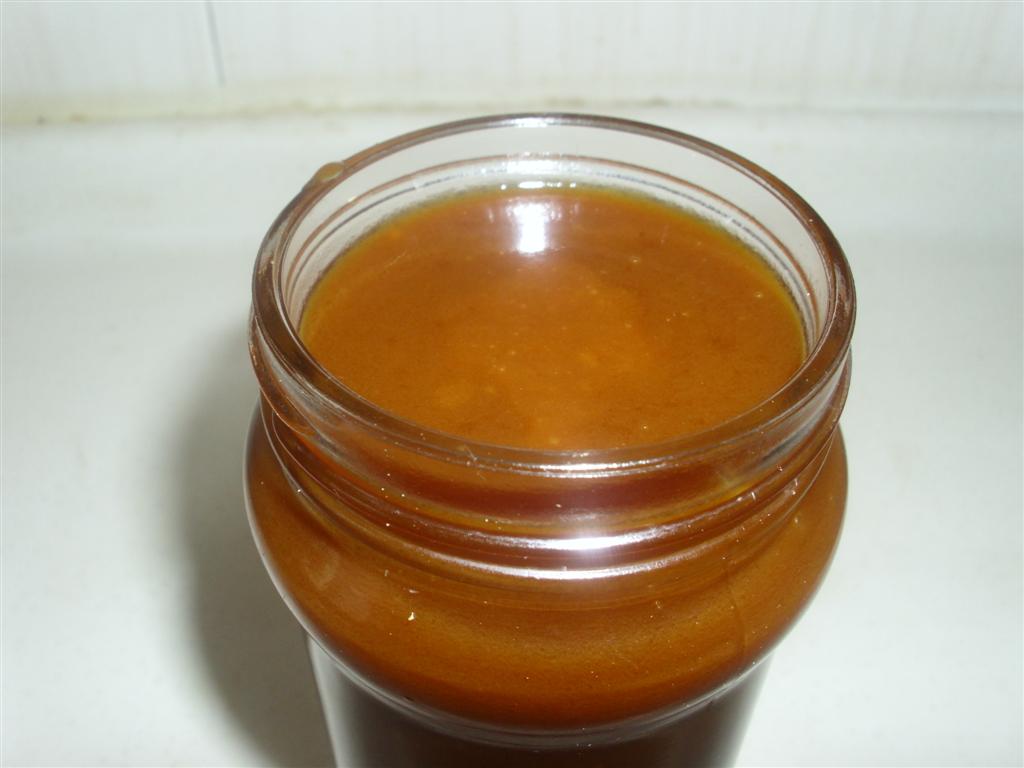
 Since pumpkins are still in season here (read that: really cheap and easy to get), I thought I try pumpkin butter as my first DIY project for 2012. I looked at a few different pumpkin butter recipes but ended up coming up with my own very simple recipe. I really like how it turned out though; it tastes like spreadable pumpkin pie to me. Pumpkin butter is great on muffins and toast, and I would imagine it would be fabulous on homemade bagels.


