
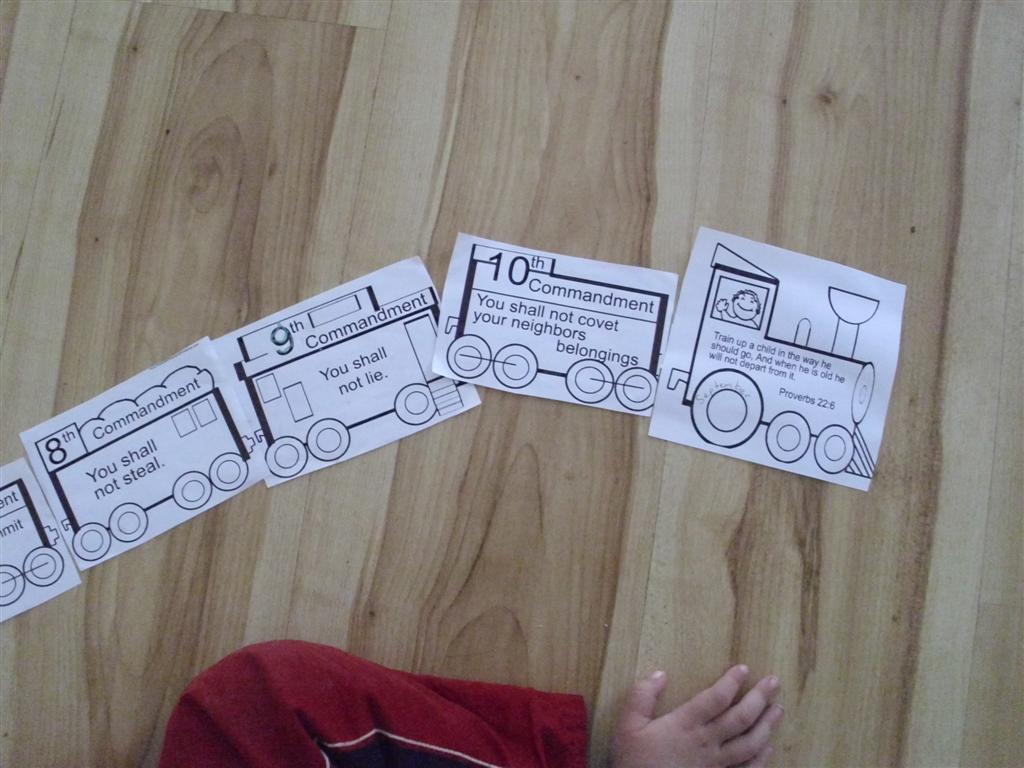
Ten Commandments or Numbers Train
- Ten commandments train printed out and cut apart (or numbers written on flashcards and an picture of an engine)
Numbers Train Writing Practice
- Numbers train writing practice sheets printed or drawn out


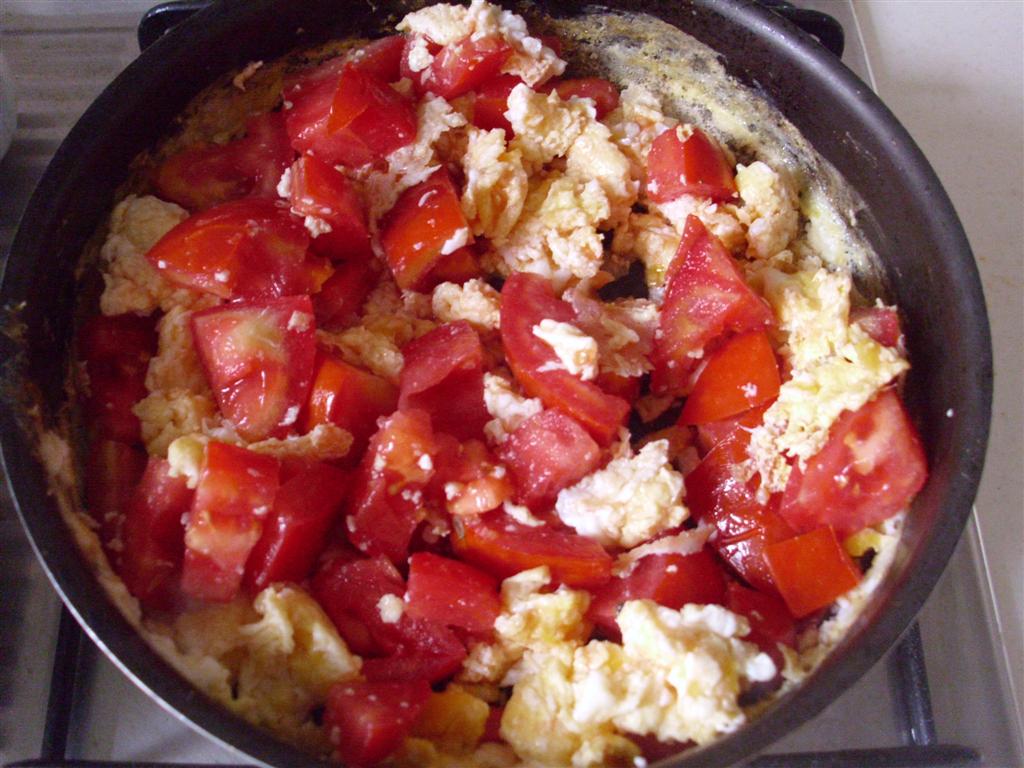
 This is a easy Asian style dish that is really popular in the Philippines. It is similar to the fried noodles (chǎo miàn 炒面) that are popular in China as well, but there is less oil and more meat and vegetables in this version. When I was working in a hospital, I worked with Filipino nurses and love it when they brought this dish to share. We had a Filipino friend over recently, and I wanted to try making pancit for her. She thought this recipe was pretty similar to what they make back at her home.
 |
| Aaron's new trick: Funny glasses |
 |
| Three boys climbing trees |
 |
| The boys wanted to "swim" in the bathtub |
 |
| Bathtub crayons |
 |
| Andrew's new trick: Stuffing toys in his shirt |

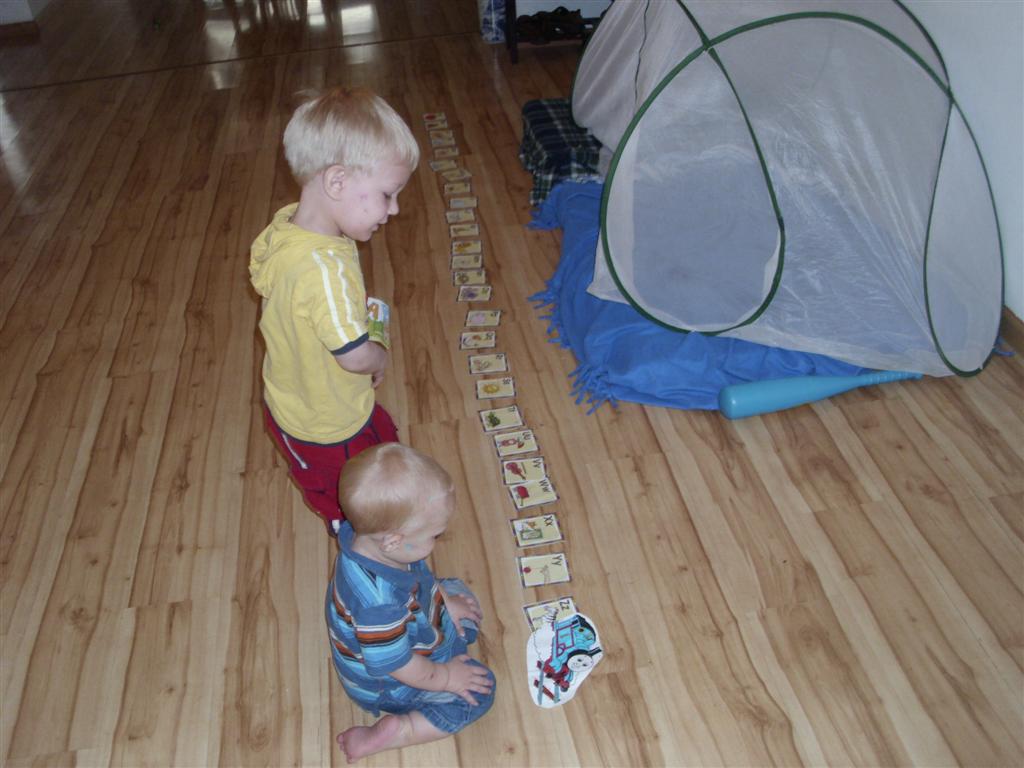 This is another fun activity that we have been doing as a part of our train unit study. I saw an idea for an Alphabet Train game a little while ago and thought it would be fun for Aaron. I modified the activity a little because just matching letters is not challenging for Aaron. Instead I just had him line up all of the letters in alphabetical order for the cars and then put an engine at the end to pull the alphabet train. In a preschool workbook that I got for a dime at a thrift store, I found premade alphabet flashcards that I cut apart and used a Thomas leftover from the boys birthday party for the engine, but you could just as easily draw your own on flashcards on small pieces of paper.
 Help your child as needed. The first time we tried this Aaron (3 years old) got stuck a couple of times, so I would just start singing the ABC's up to the letter he had already placed, and he was always able to continue on his own from there. Aaron just did the alphabet train activity again today, while his brother was sleeping, and was able to do the whole thing by himself without any help. His train overlapped, curved around, and some of the letters were upside down, but he did correctly alphabetize them all on his own. A child who was just starting to learn the alphabet would obviously need quite a bit more help. Andrew (20 months) could find a couple of the letters he knew and hand them to Aaron but wasn't able to participate much beyond that.
 |
| Finished carrier hanging in our entry way |
 |
| I cut 3 straps (11" by 60" and body (18" by 48") |


 |
| All straps pinned securely |
 |
| Body sides sewn securely |


 Here it is very common to see people wear a traditional Asian type of baby carrier to carry their babies around with them. Some women (particularly the poorer women like recyclers, street sellers, or small shop keepers) carry their babies all day. In some ways, I think these kids are the lucky ones, because while they may lack some physical niceties, they get to be with their mom far more than most of the rich kids who are often sent to live with relatives, even in other towns, while their parents spend all their time working to provide for their certain lifestyle.
 However, most people just use these types of carriers to go shopping or run other errands around town. Even though the roads and sidewalks here are much better than most of the smaller cities and villages, there are definitely still times when it is easier to carry little ones on your back instead of trying to maneuver the stroller. This becomes especially true if you want to ride bused or do any hiking off of paved roads.
 We'd been thinking about purchasing some for a while, but they are only sold in small markets, and the price they told me was more than we wanted to pay. Also, a baby carrier isn't something you want to buy the absolute cheapest version of either. So recently, we found the fabric market (they like to group almost all of a type of seller into one section of town here), and I made two myself. I made ours with two long and two short straps because I think it is more secure and spreads out the weight more. I also made sure to stitch the strap reinforcements a lot, a lot, to make sure that they would hold up with our big, sturdy boys.
 This is a favorite around here, especially if I make it with purple potatoes. I hadn't heard of purple potatoes until recently, but they taste the same and the boys love the fun color. This tastes just as good with any other kind of potatoes though, so you can use whatever you have on hand. It just won't be as colorful.

 One of the things that keeps life interesting around here is that you never quite know what you are going to get. Sometimes this is because we can't read all of the characters yet, but sometimes you just get a surprise.
 Yesterday, I discovered that I had brought several purple potatoes, mixed in with the regular white potatoes. Now, I actually do know the character for potatoes, and it is even one I always check because I want to be sure I am paying the right price for the right thing. But I didn't even know there were such a thing as purple potatoes, let alone that they would just mix them all together and call them by the same name. However, that is what they do here, and I happened to pick some. From the outside I just thought they just had more dirt on them, but when I scratched through the skin I discovered that they are bright purple inside.

 The boys have been having a great time with our train unit study. This past week we got out the Thomas Board Game that I made for Aaron's birthday. The boys had a great time playing with all of the engines together and driving them around the Island of Sodor. The free printable game cards also emphasize the positive morals taught by these cute stories. Right now, they mostly just play with all of the pieces, although Aaron also likes to read the cards, but they are still having lots of fun with it.