Alright, so here is quite a unique post and recipe (process?) that I am sure is not for everybody or to do everyday, but it was fun to try a couple of times. I also could find hardly any info online on how to make fresh sugar cane syrup with regular kitchen equipment, and while their may be a reason for this, maybe this post will be helpful to someone.
Perhaps the greatest thing about the food here in southern China, is that you can buy fresh items at the market that are practically unheard of in the states. I have seen sugar cane at a few Mexican supermarkets around New Years though, so if you have high quality ethnic markets nearby you may be able to find some sugar cane at certain times of the year. Anyway, sugar cane is very easy to get lots of seasonally in the spring here. Around spring festival time.
Getting unusual ingredients inspires us to try new, and sometimes crazy things. Most people here
just chew on the sugar cane to taste the sugar and then spit out the
fibrous pulp. We've done that too. But the regular sugar takes longer to dissolve and tastes more manufactured than in the states. So we wanted to see if we could make a simple syrup to sweeten drinks, pour on pancakes, and possibly even bake with.
Thus begins our little culinary adventure......
Homemade Sugar Cane Syrup Recipe (Using only regular kitchen equipment: knives, cutting board, blender, strainer, cheese cloth or tea towel, bowls, spoons, and pots)
- Fresh Sugar Cane
- Water
.JPG)
- The first step in the process (after finding the sugar cane) is cutting it into short lengths and removing the tough outer layer with a very sharp knife. When you buy it here, you can usually ask to have it removed and the friendly salesman will hack away like crazy with a giant clever and several pounds worth will be cleaned in minutes. This is totally the way to go. We had the outer layer removed from the first batch we bought by a professional, and then later we were actually given some free leftover sugar cane that still needed the outer layer removed. Our knife actually broke while trying to remove the outer layer ourselves, so the free batch might have actually cost us more in the long run. Anyway, long story short, remove the outer layer very carefully with a very sharp and very sturdy knife.
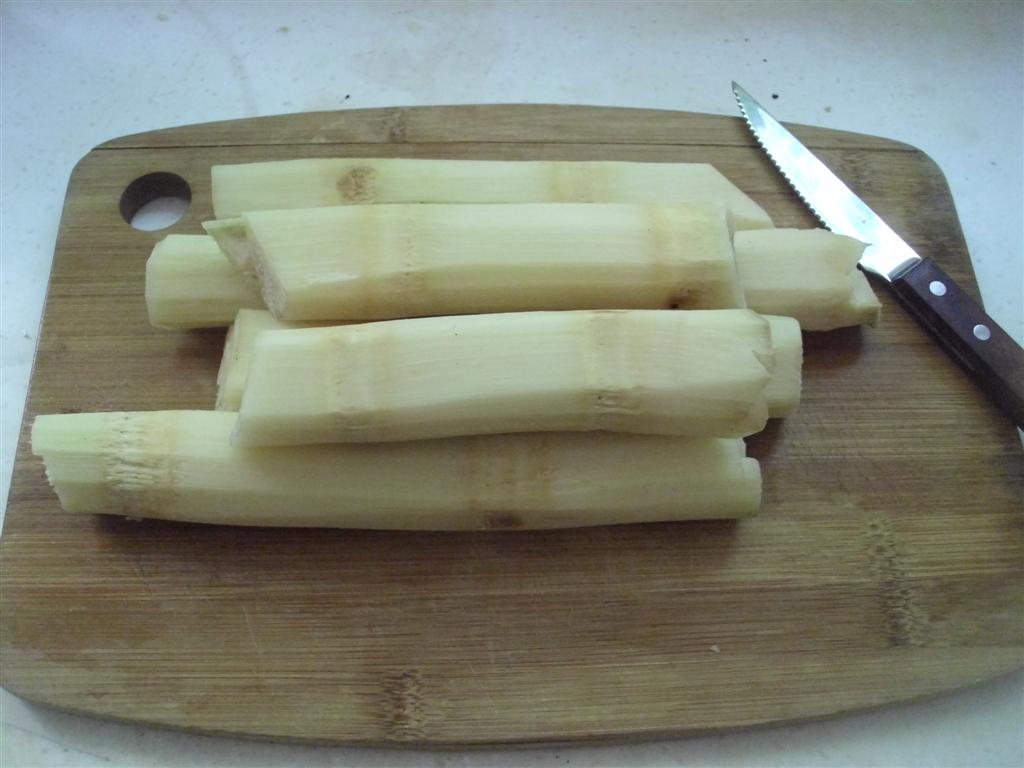.JPG)
- Next cut the sugar cane into little pieces that your blender will be able to handle blending very small. (Side note: my blender isn't very powerful but it didn't have any problems. However, I already mentioned that we broke a kitchen knife the second time we did this, so use caution and good judgment and you may want to even try a small test batch to see if it seems like it is taxing you blender too much).
- Pour water to cover the sugar cane pieces in the blender. Put the lid on and pulse to blend into pulp.
- Now rig up a straining apparatus. I took a big bowl that a colander could hang down into and rest on, and then I covered the colander with a cheese cloth. You could also use a clean tea towel or other clean cloth.
- Pour the pulp into the colander and let the liquid drain into the bowl. Use a wooden spoon to really push on the pulp and squeeze all the liquid you can out of the pulp.
- Repeat the above steps as many times as necessary to process all of the sugar cane you have in batches your blender can handle. This may be the point when we started to question how much this syrup was really worth to us, but we persevered and chopped and blended quite a few batches of sugar cane.
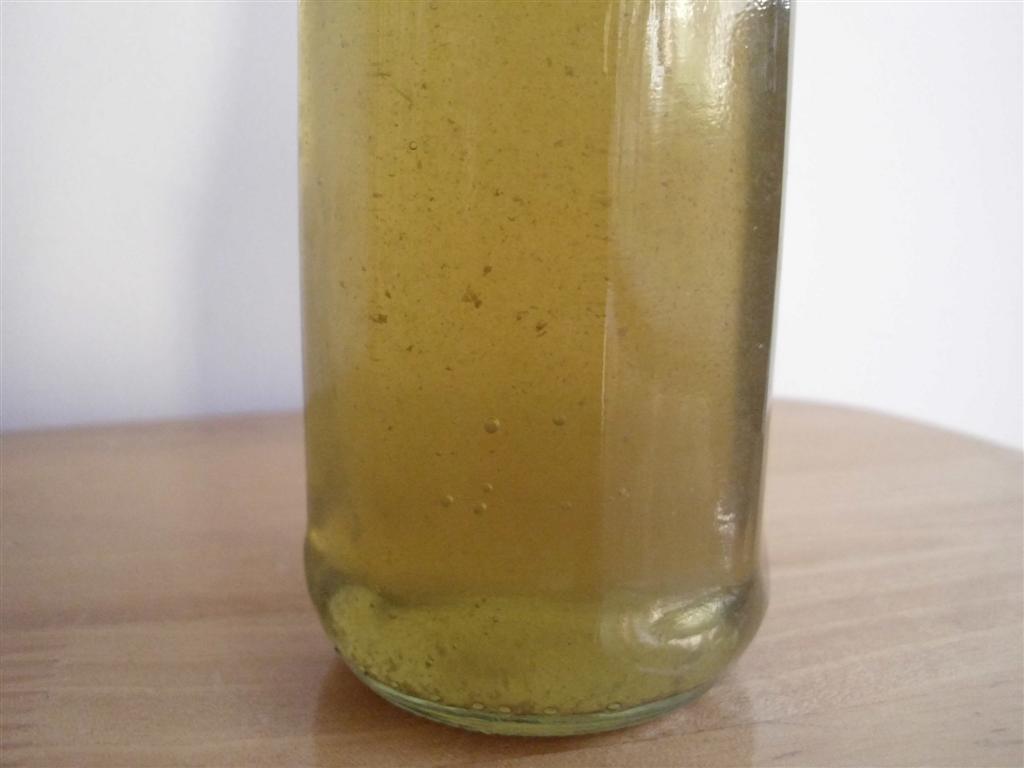
- The next step is to put this liquid into a pot and slowly boil it down until you get the consistency you desire. You may have to scrape foam and impurities off from time to time to keep this from boiling over. I boiled ours down to about one third of the original volume and it seemed close to a 1:1 simple syrup (one cup of sugar to one cup of water), the same viscosity or "thickness" as simple syrup, but not quite as sweet. I didn't want to keep watching the boiling pot at that point so I called it good and we used at that sweetness. You would have to boil it way, way, way down to get actual store bought sugar cane syrup consistency.
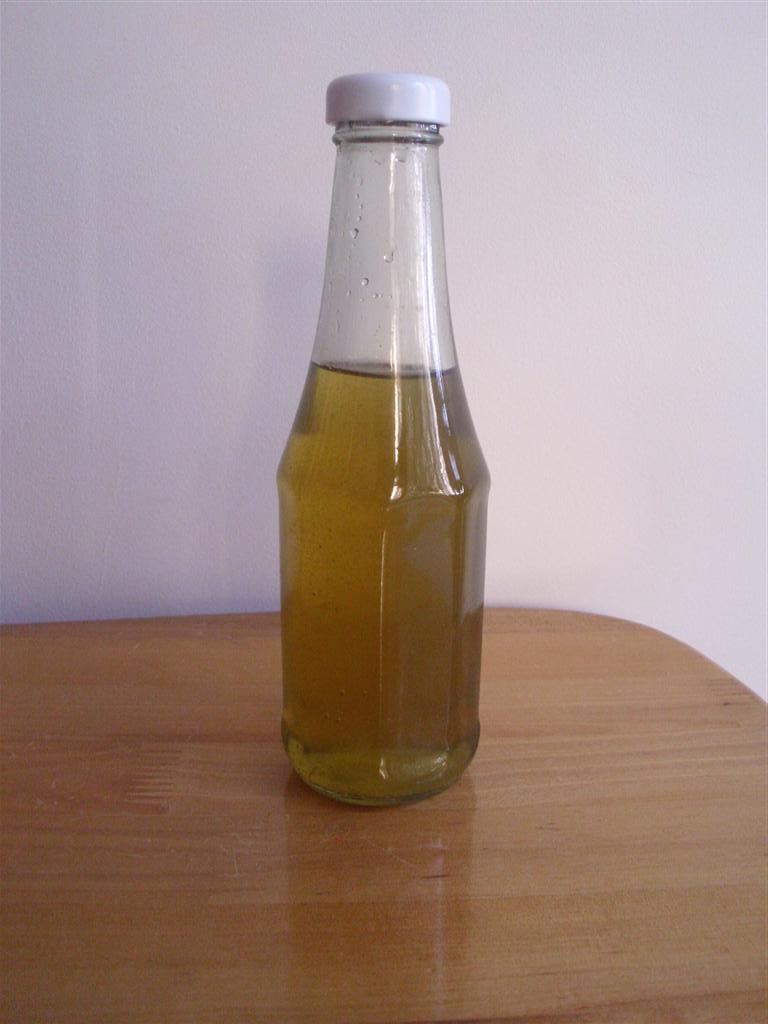
- After you are done boiling the syrup, you will need to strain the mixture again to remove more impurities. Then you can store the syrup in a bottle or jar in your refrigerator.
We used this syrup in hot tea and coffee and over pancakes. It did have a bit of a "grassy" taste (imagine that a syrup made from a grass and water tasting grassy), but not bad and it does taste less manufactured to us than our regular white sugar here. The second time we repeated the process (except for breaking the knife), turned out the same and the syrup was equally good. It was quite good as a natural sweetener. Since we didn't get a huge amount of syrup, I didn't try baking with it. I don't know if we will actually try it again with just regular kitchen equipment, but it was a fun adventure slash science experiment.
.JPG)
.JPG)
.JPG)

.jpg)
.JPG)
.JPG)
.JPG)
.JPG)
.JPG)
.JPG)
.JPG)
.JPG)
.JPG)
.JPG)
.JPG)
.JPG)
.JPG)
.JPG)
.JPG)
.JPG)
.JPG)
.JPG)
.JPG)
.JPG)
.JPG)
.JPG)
.JPG)
.JPG)
.JPG)
.jpg)
.JPG)
.JPG)
.jpg)
.jpg)
.jpg)
.jpg)
.jpg)
.jpg)
.jpg)
.jpg)
.JPG)
.JPG)
.jpg)
.JPG)
.JPG)
.JPG)
+(Large).jpg)
+(Large).jpg)
+(Large).jpg)
+(Large).jpg)
+(Large).jpg)
+(Large).jpg)
+(Large).jpg)
+(Large).jpg)
.jpg)